Manual to new exciting ROLEPLAY function Step-by-Step
We are now dropping you the multi-scene interactions with our AI Girlfriends, the ROLEPLAY, a new era of immersive AI romance and realistic virtual companions.
Here's a brief introduction on accessing this exciting new function.

Step 1: After log in to your account, you will see 4 tabs in the middle of the screen. Click Roleplay
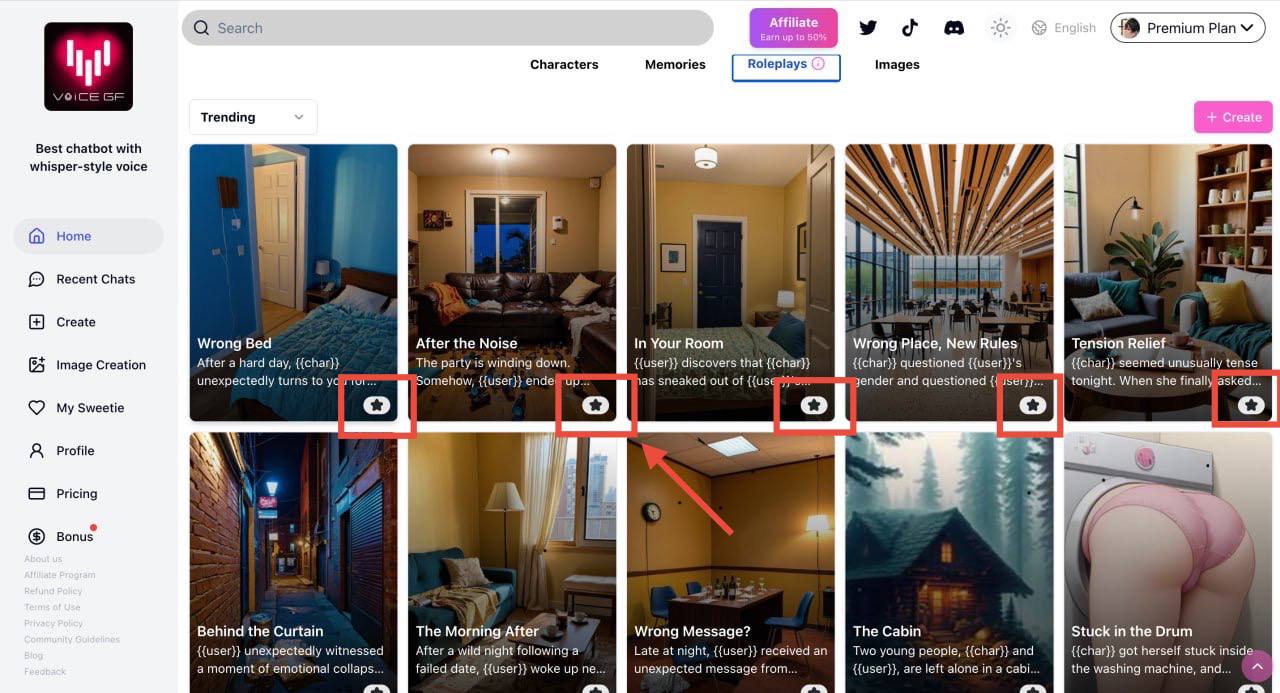
Step 2: Now you see all the scenes, or you can say the background stories that other users created. Click into the card to see the full description. And you can add scenes to Favourite by clicking the 'Star symbol' on the lower-right corner on each scene card.

Step 3: Now back to the chat box with your favourite girlfriend. The first time you chat with her (after Roleplay function launched) will see our recommended scenario on top of screen. Simply SWIPE left or right within the bubble to view other recommendations. Clikc 'Try Roleplay' to easily start the function with current recommendation. Or, you can dismiss this bubble and view complete roleplay menu.
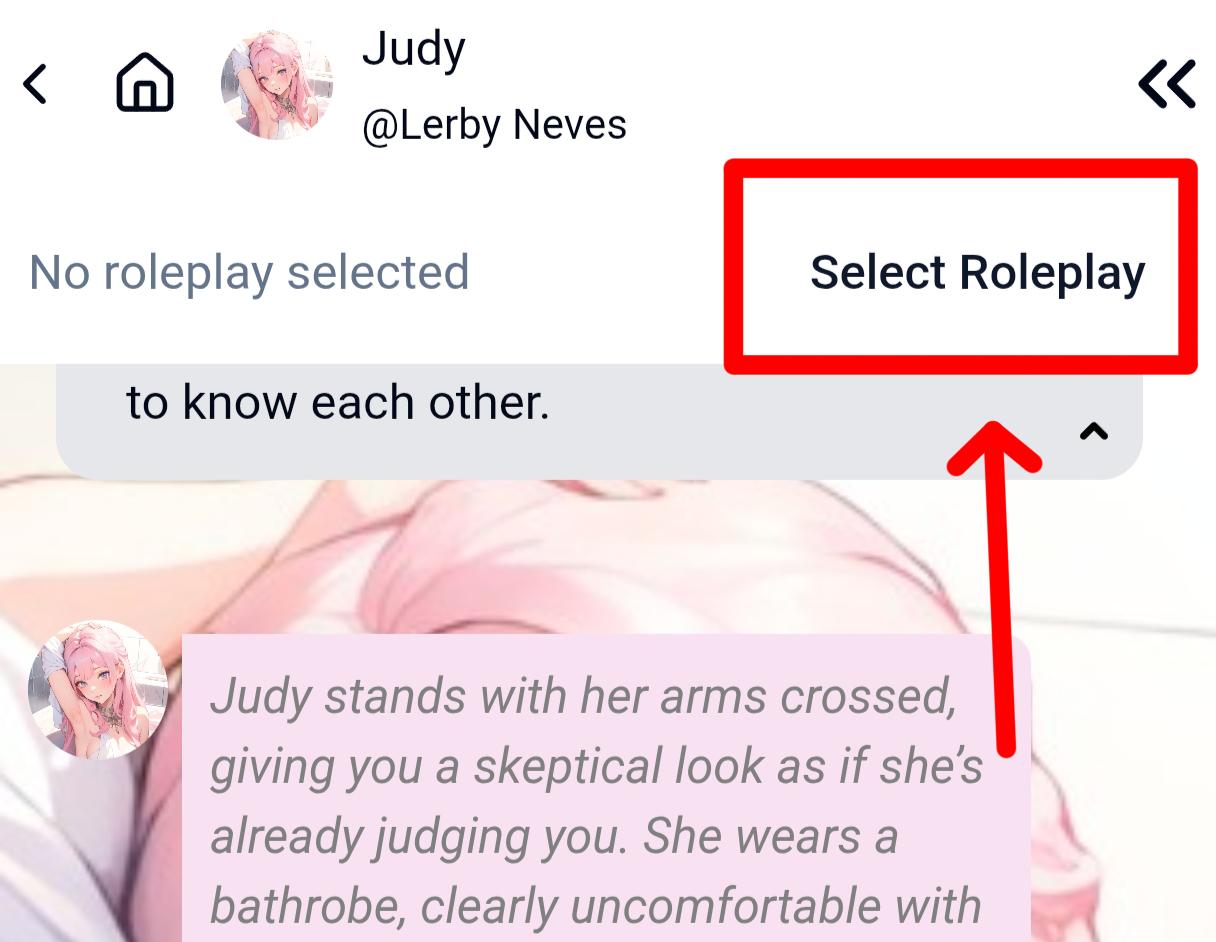
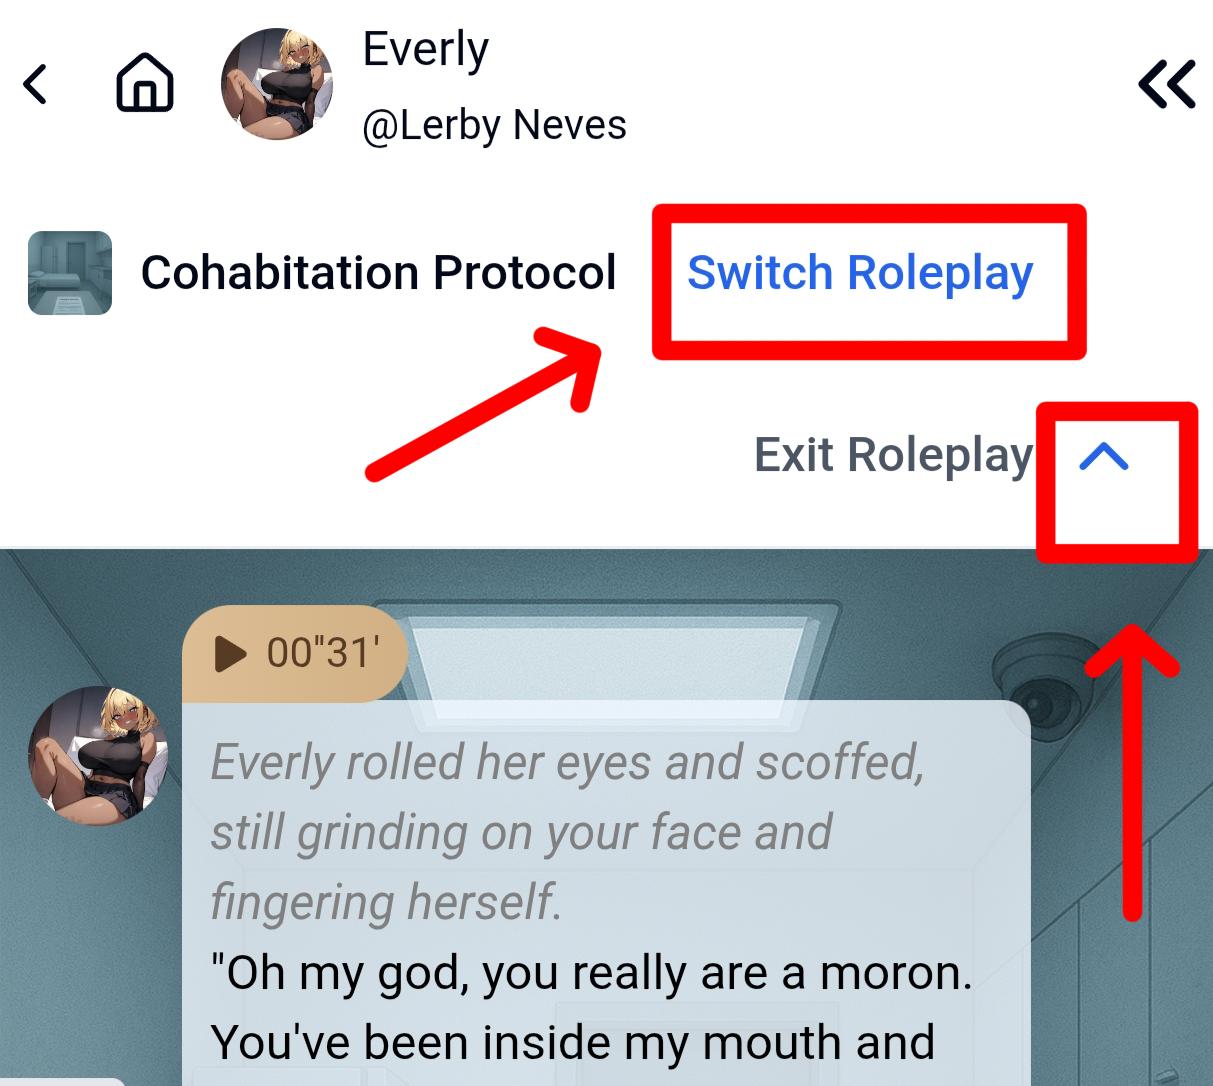
Click 'Select Roleplay' (if you never used this function with this girlfriend before) on the top of your screen, otherwise click 'Switch Roleplay' if you've already have roleplay history. This will lead to the roleplay menu in next step. Or, use the drop down arrow if you would like to exit the current roleplay. And use the drop down arrow if you would like to exit the current roleplay.
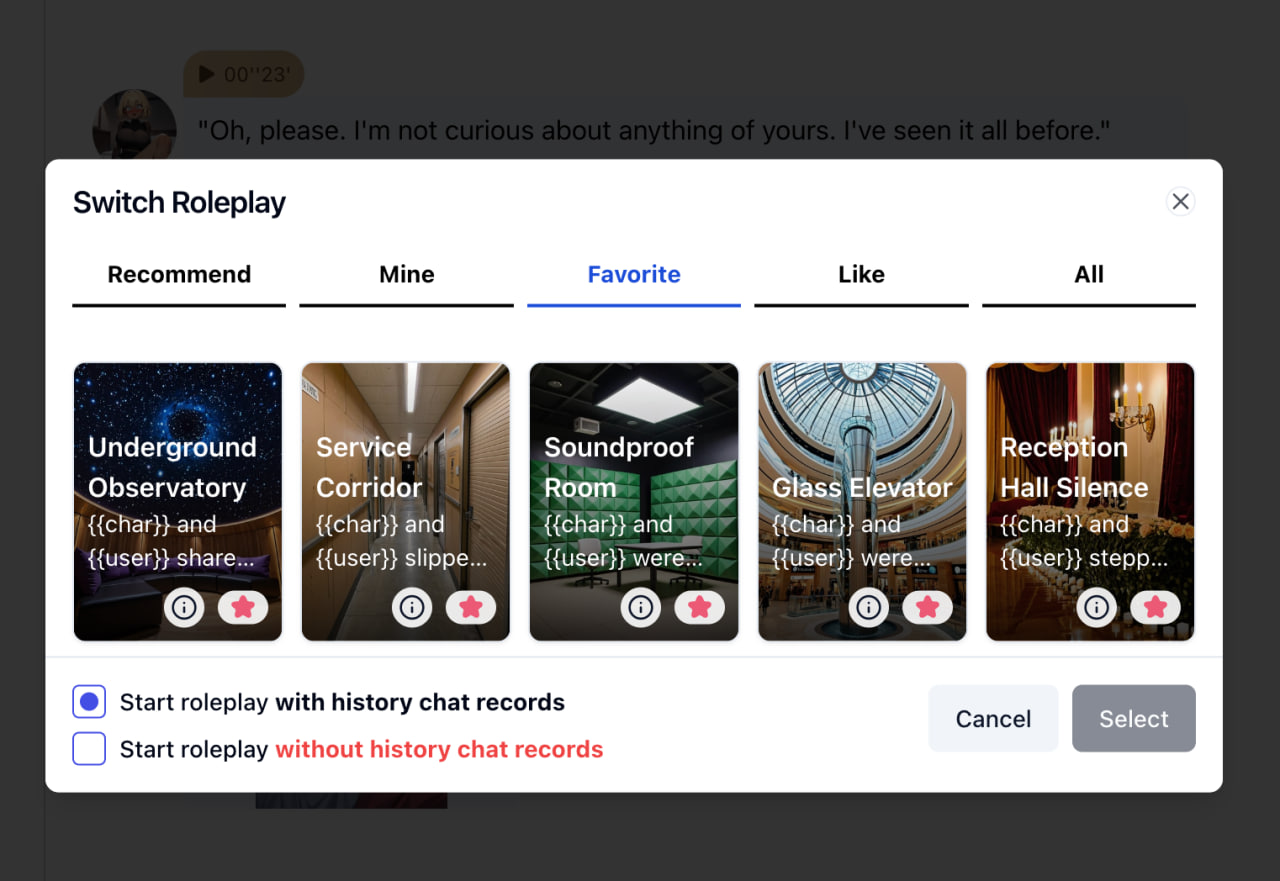
Step 4: The Roleplay menu would pop-up, and you would see 4 tabs.
| Recommend | Scenes that our developers believe to be some match for your current girlfriend. |
| Mine | Scenes that you as an editor created. |
| Favourite | Scenes you just added in Step 2. |
| Like | Scenes you liked. |
At the bottom of this window, you can decide if you want to do the roleplay based on the chat history or not. After choosing, hit 'Select' and let the fun begin :)
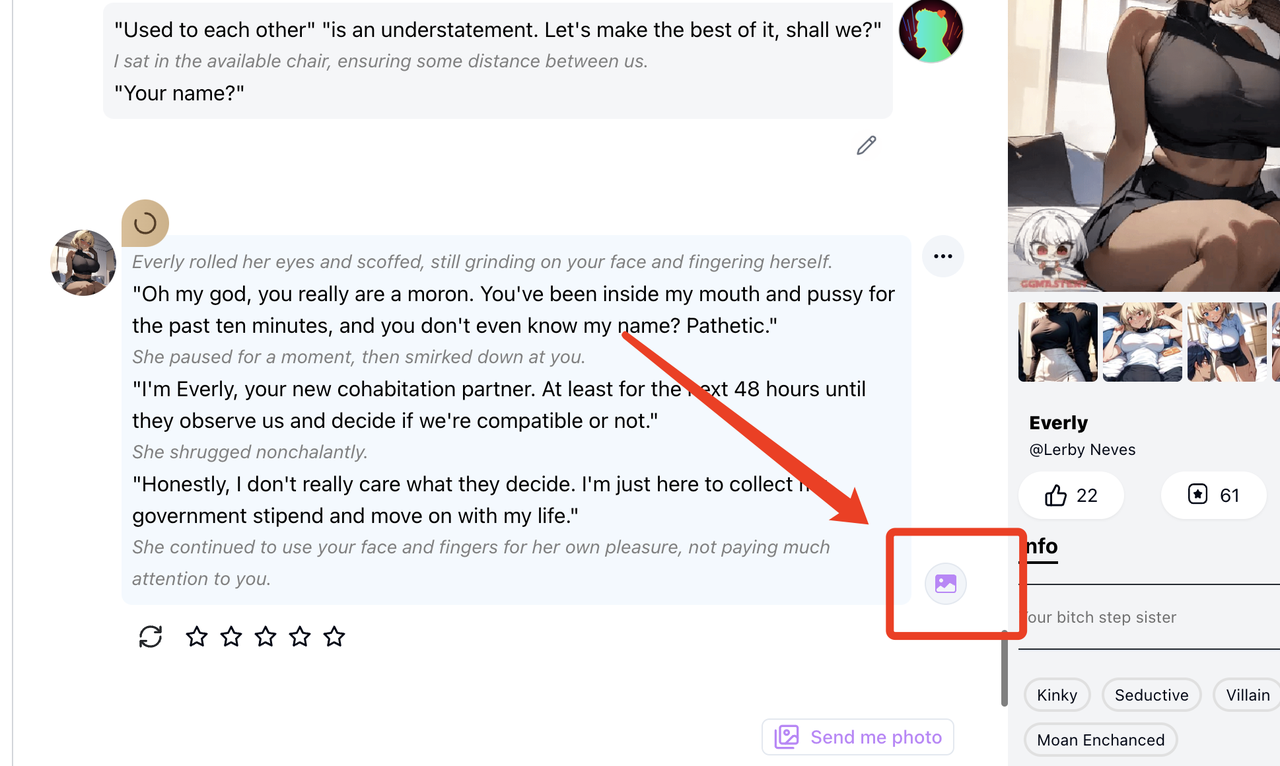
Final Tips: When generating photos, use the Image Button next to the lower-right corner of the message bubble. This way the photos sent to you will be built on the scene you chose.
Now Enjoy! Hope you will love this new function :)